Arduino Controlled Epson Tm T88p Printer
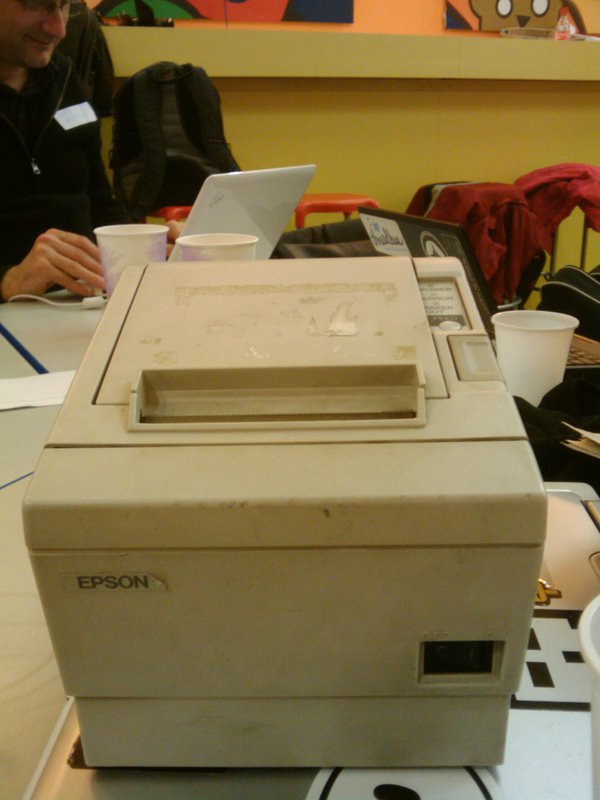
The EPSON TM-T88P is a parallel controlled printer. It came to be in my possession after going along to a kind of computer jumble sale 5 quid got me this:
Centronics Handsake
It turns out there are a number of ways to communicate with printers and the Epson supports a number of these methods. I decided to go with the Centronics standard AKA Compatibility Mode since its about as basic as you can get. Heres a diagram from the excellent http://www.beyondlogic.org
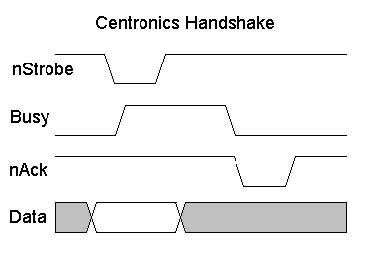
Centronics Handshake Diagram from beyondlogic.org
Think of the handshake as; you wait for the printer to be free (busy low) enter the number you want to send (set the 8 bits of your byte on the data lines) then pull the send lever old cash register style (strobe low wait stobe high). Its not a partuclay dificult concept but I found the diagram hard to understand becuase for some reason I thought it had to be more complicated than it actualy was.
Wiring Up
Nothing too complex here the table below show the Socket to Arduino linkup:
| Socket | Arduino | ||
|---|---|---|---|
| Pin | Name | Pin | pinMode |
| 1 | Strobe | 13 | OUTPUT |
| 2 | D0 | 2 | OUTPUT |
| 3 | D1 | 3 | OUTPUT |
| 4 | D2 | 4 | OUTPUT |
| 5 | D3 | 5 | OUTPUT |
| 6 | D4 | 6 | OUTPUT |
| 7 | D5 | 7 | OUTPUT |
| 8 | D6 | 8 | OUTPUT |
| 9 | D7 | 9 | OUTPUT |
| 10 | ACK | 10 | INPUT |
| 11 | BUSY | 11 | INPUT |
| 25 | GND | GND | n/a |
You only need to wire up one of the ground lines since they will all be connected to ground in the printer anyway (lazy method) ! :)
Programming
Its worth pointing out at this stage that you might want to make up some kind of parallel port debuger so you can get an idea of whats actualy happening at a low level and that your program is producing the expected output.
First lets setup the pins as in the table above we will also setup a serial connection so we can do debugging.
int strobe = 12;
int busy = 11;
int ack = 10;

void setup() {
pinMode(strobe, OUTPUT);
//setup stobe high
digitalWrite(strobe, HIGH);
//setup handshake listeners
pinMode(busy, INPUT);
pinMode(ack, INPUT);
for(int i=2;i<10;i++){
pinMode(i, OUTPUT);
//setup inital condition
digitalWrite(i, LOW);
}
Serial.begin(115200);
Serial.println("READY:");
}
To start with we can actual simplify the handsake further by ignoring the ACK since BUSY should always go low when we are OK to send more data. With this in mind we end up with 3 main steps:
- Wait for not busy
- Set Data
- Strobe
For the wait not busy function i decided to go with a simple poll, every 100 iterations it prints a ‘.’ so we can see in the terminal if its got stuck.
void pollWait(int port){
int i = 0;
while(digitalRead(port) == 1){
i++;
if(i>100){
i=0;
Serial.print(".");
}
}
}
Strobe function is nice and simple. Suposidly you can have any value greater than 0.5 microseconds for the strobe and it will work. To keep it simple i just went with 1ms.
void doStrobe(){
digitalWrite(strobe, LOW);
delay(1);
digitalWrite(strobe, HIGH);
}
Setting the datalines we use i+2 as the first bit is written to pin 2 etc.
void setLines(byte out){
//loop over data lines
for(int i=0;i<8;i++){
//check and set
if(bitRead(out, i) == 1){
//write to pint we start at 2 so +2
digitalWrite(i+2, HIGH);
}else{
//bit is 0 so set low
digitalWrite(i+2, LOW);
}

      }
    }
Now we use all these functions to send a byte to the printer
void dataHandShake(byte a){
pollWait(busy);
setLines(a);
doStrobe();
}
Finaly we can make a small program to print somthing. Its worth making sure things only happen once… you dont want your printer spewing paper while you try and turn it off!
Add the following global:
boolean go = true;Then quick and dirty hello world:
void loop()
{
//so we dont end up with a constant stream
if(go){
dataHandShake('H');
dataHandShake('e');
dataHandShake('l');
dataHandShake('l');
dataHandShake('o');
dataHandShake(' ');
dataHandShake('W');
dataHandShake('o');
dataHandShake('r');
dataHandShake('l');
dataHandShake('d');
//send Line feed so it prints the line
dataHandShake(0x0A);
go = false;
Serial.println("DONE");
}
}
We now end up with something that looks like this:
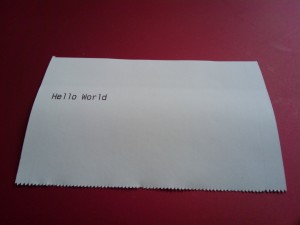
Thats all for now in a future post (hopefully!) I will be looking at more advanced printing.